Setting Up Magento 2.0 Default USPS Shipping Extension
This article is about how you can set up Magento 2.0 Default USPS Shipping Extension for your online store.
Overview
USPS (United States Postal Services) is an independent agency of the United States federal government which provides convenient and affordable shipping and mailing services in the US (United States) and internationally.
With the help of USPS shipping extension, you get the real time rate and print labels using USPS API. Rate depends on box dimension, weight, and address of sender and receiver. This extension also provides flat rate option.
This tutorial will give you an excellent launch pad to kick start the Usage of Magento USPS shipping extension. It will give you all the essential knowledge and step-by-step instructions.
Setting Up USPS Extension
You can configure USPS Shipping method as per your requirement. You can navigate to settings as:
- Navigate to Admin Dashboard > Stores > Configuration > Sales > Shipping Methods > USPS.
General Settings
The general setting fields are as shown below:
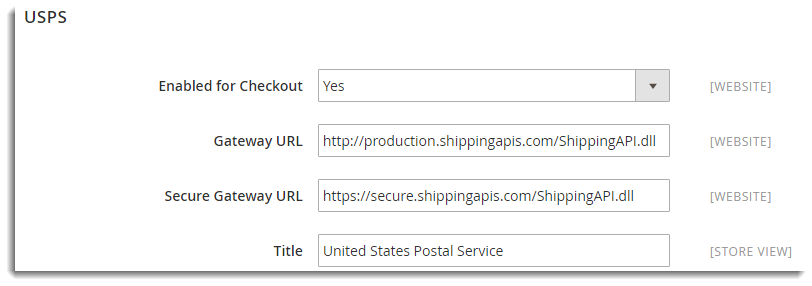
- Enabled for Checkout: Select Yes from the drop-down list to enable the USPS shipping method.
- Gateway URL: Enter Gateway URL provided by USPS.
- Secure Gateway URL: Enter Secure Gateway URL provided by USPS.
- Title: Method Title is visible in Cart page. Specify Title as required(defined by you).
API Settings
API settings are used to get rates and labels from USPS. For accessing few USPS Web Tools APIs, you need to register with USPS Web Tools. After registration is complete, you receive Email with Web Tools User ID , Password and gateway URLs from USPS. To get print labels, you need Web Tools User ID.
How to register for USPS Web Tools?
- Go to https://www.usps.com/business/web-tools-apis/welcome.htm (Not the URL used for logging into My USPS account)
- Under Sign Up, click Register Now.
- Enter all the required details in the given registration form.
- Click Submit.
After registration, you will receive an Email containing your unique Web Tools User ID, password, instructions for next steps and requests for additional permissions.
API Setting fields are as shown below:
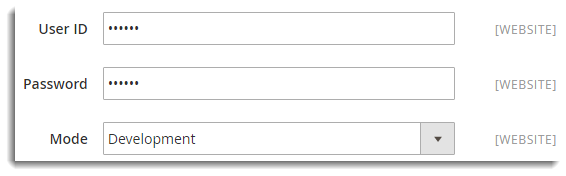
- User ID: Enter the User ID provided by USPS.
- Password: Enter the Password which you have got from USPS for the entered User ID.
- Mode: With this field, you can set a required API mode for printing the labels. The available options are as given below:
-
- Development: This mode is used to do some test purchasing and sample label printing by using USPS API.
Please, contact USPS to obtain development credentials and Gateway URL.
Note: This mode is used only for development purpose and Customers should not have access to this mode. - Live: Live mode is used for actual purchase and label printing
- Development: This mode is used to do some test purchasing and sample label printing by using USPS API.
Package Request Type
Here, you can select the package type for packing the order. The shipping cost changes according to the option selected . The Settings are as shown below:
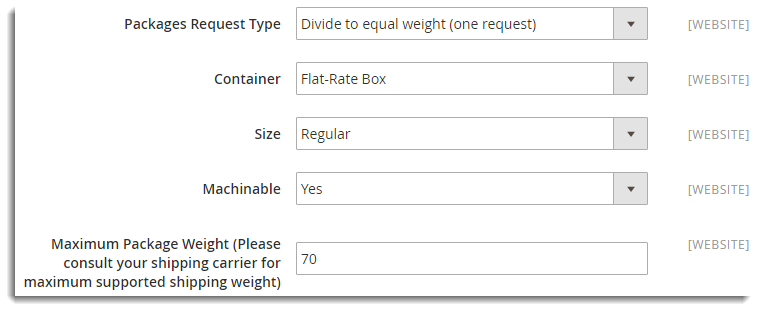
- Packages Request Type: The available options are as given below:
- Divide to equal weight(one request): Package is selected on the basis of Maximum Package Weight (Please consult your shipping carrier for maximum supported shipping weight) field and the total of the cart.
- Use Origin Weight (few request): Package is selected on the basis of each product’s weight.
- Container: Select a required container for packing the items from the drop-down list. The available options are as given below:
- Variable: This option allows to customize the packing Box.
- Flat-Rate Box: Uses Flat Rate Box to pack items.
- Flat-Rate Envelope: Uses Flat rate Envelope to pack items.
- Rectangular: The shape of your mailpiece can determine the price you pay. In some instances, certain shapes like squares and tubes are charged a higher price because those pieces must be processed manually.
- Non-Rectangular: You want your mailpiece to look unique to catch your customers’ attention but an odd-shaped mailpiece not only may cost more to design and print but also may be nonmailable (for example, a round postcard) or subject to a higher price.
- Size:Select a size for the parcel according to your need. The available sizes are as given below:
- Regular : Generally, commercial parcels must measure:
- At least 3 inches high x 6 inches long x 1/4 inch thick.
- Except for Standard Post and Parcel Select, no mailpiece may measure more than 108 inches in length and girth combined. Length is the measurement of the longest dimension and girth is the distance around the thickest part (perpendicular to the length). Maximum weight is 70 pounds.
- Large: If parcel size is larger than regular size and within the USPS limits, select this option.
For more information, see Sizes of Parcel.
- Regular : Generally, commercial parcels must measure:
- Machinable: If you prepare your parcels so that they can be processed on Postal Service equipment, your parcel is considered “machinable.” Machinable parcels are easier to process and deliver, so they are less expensive to mail.
Select Yes, if the items are machinable. - Maximum Package Weight (Please consult your shipping carrier for maximum supported shipping weight): Enter the required maximum limit for the single package after consulting the carrier.
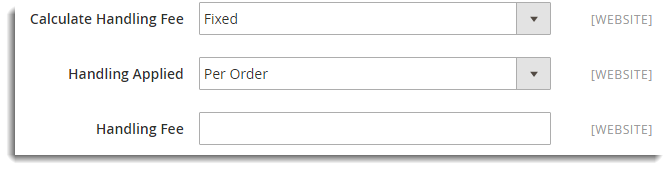
Handling Fee Settings
You can add the extra shipping price to actual shipping cost either for entire order or per package. You can mention the fixed amount or the percentage of the total order. The settings are as shown below:
Allowed Methods
You can select the methods which you want to be available for the customers, you can specify free shipping methods, or you can specify the threshold amount for free shipping. The settings are as given below:
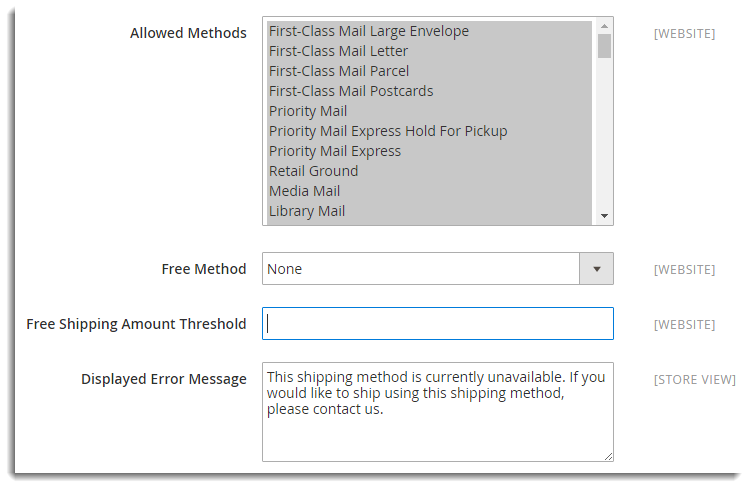
- Allowed Methods:Select the methods which you want to be available for the customers from the drop-down list.
- Free Methods: Select the methods which you want to be available free of cost for the customers from the drop-down list.
- Free Shipping Amount Threshold: If the order amount is more than the specified amount, then you need to provide free shipping for the customer. Enter the amount according to your requirement.
- Displayed Error Message: In case, the customer does get any shipping method, this message is displayed.
Country Settings
The Country settings are as shown below:
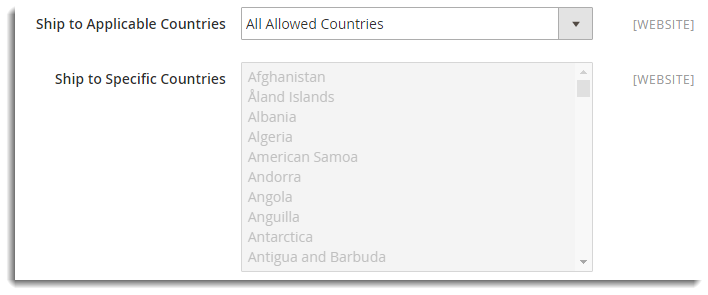
Ship to Applicable Countries: This field allows you to select countries for shipping. The available options are as given below:
- All allowed Countries: This option provides availability of the extension to the customers in all countries which are set in General Settings. It is set as a default option.
- Specific Countries: This option allows you to add the list of countries. Shipping Method gets available only in the listed countries.
Debug
If you are not getting proper rates( lesser or higher than expected), not getting all the available shipping options, or not getting rates at all, then you enableDebug option to find error(s). By enabling debug mode, you can trace issue using log. The Setting is as shown below:

Select Yes option from the drop-down list to enable debug mode.
Show Method if Not Applicable
This field allows you to show the shipping method even if the shipping method is not available for the order. The setting is as shown below:

Select Yes from the drop-down list if you want to show method even if not applicable.
Sort Order
If more than one shipping methods are enabled, then this option allows you to position the shipping method among all the available that will be displayed on the checkout page. The setting is as shown below:

Specify the number to show this shipping method on the checkout page.
For Example Sort order for FedEx is 1, UPS is 2 and Stamps – USPS is 3, then the shipping services for Stamps – USPS will be displayed after FedEx and UPS.
Free Shipping Amount Threshold
With this field, you get the option to have the threshold amount for free shipping. The setting is as given below:

Select Enable option from the drop-down list if you want to specify the threshold amount for free shipping.
Click Save Config to Save the settings.
Checkout
After setting up USPS Configuration Settings, your customers can see all available services list on the checkout page. The Customer can select the required items and place the order. The Checkout page is as shown below:
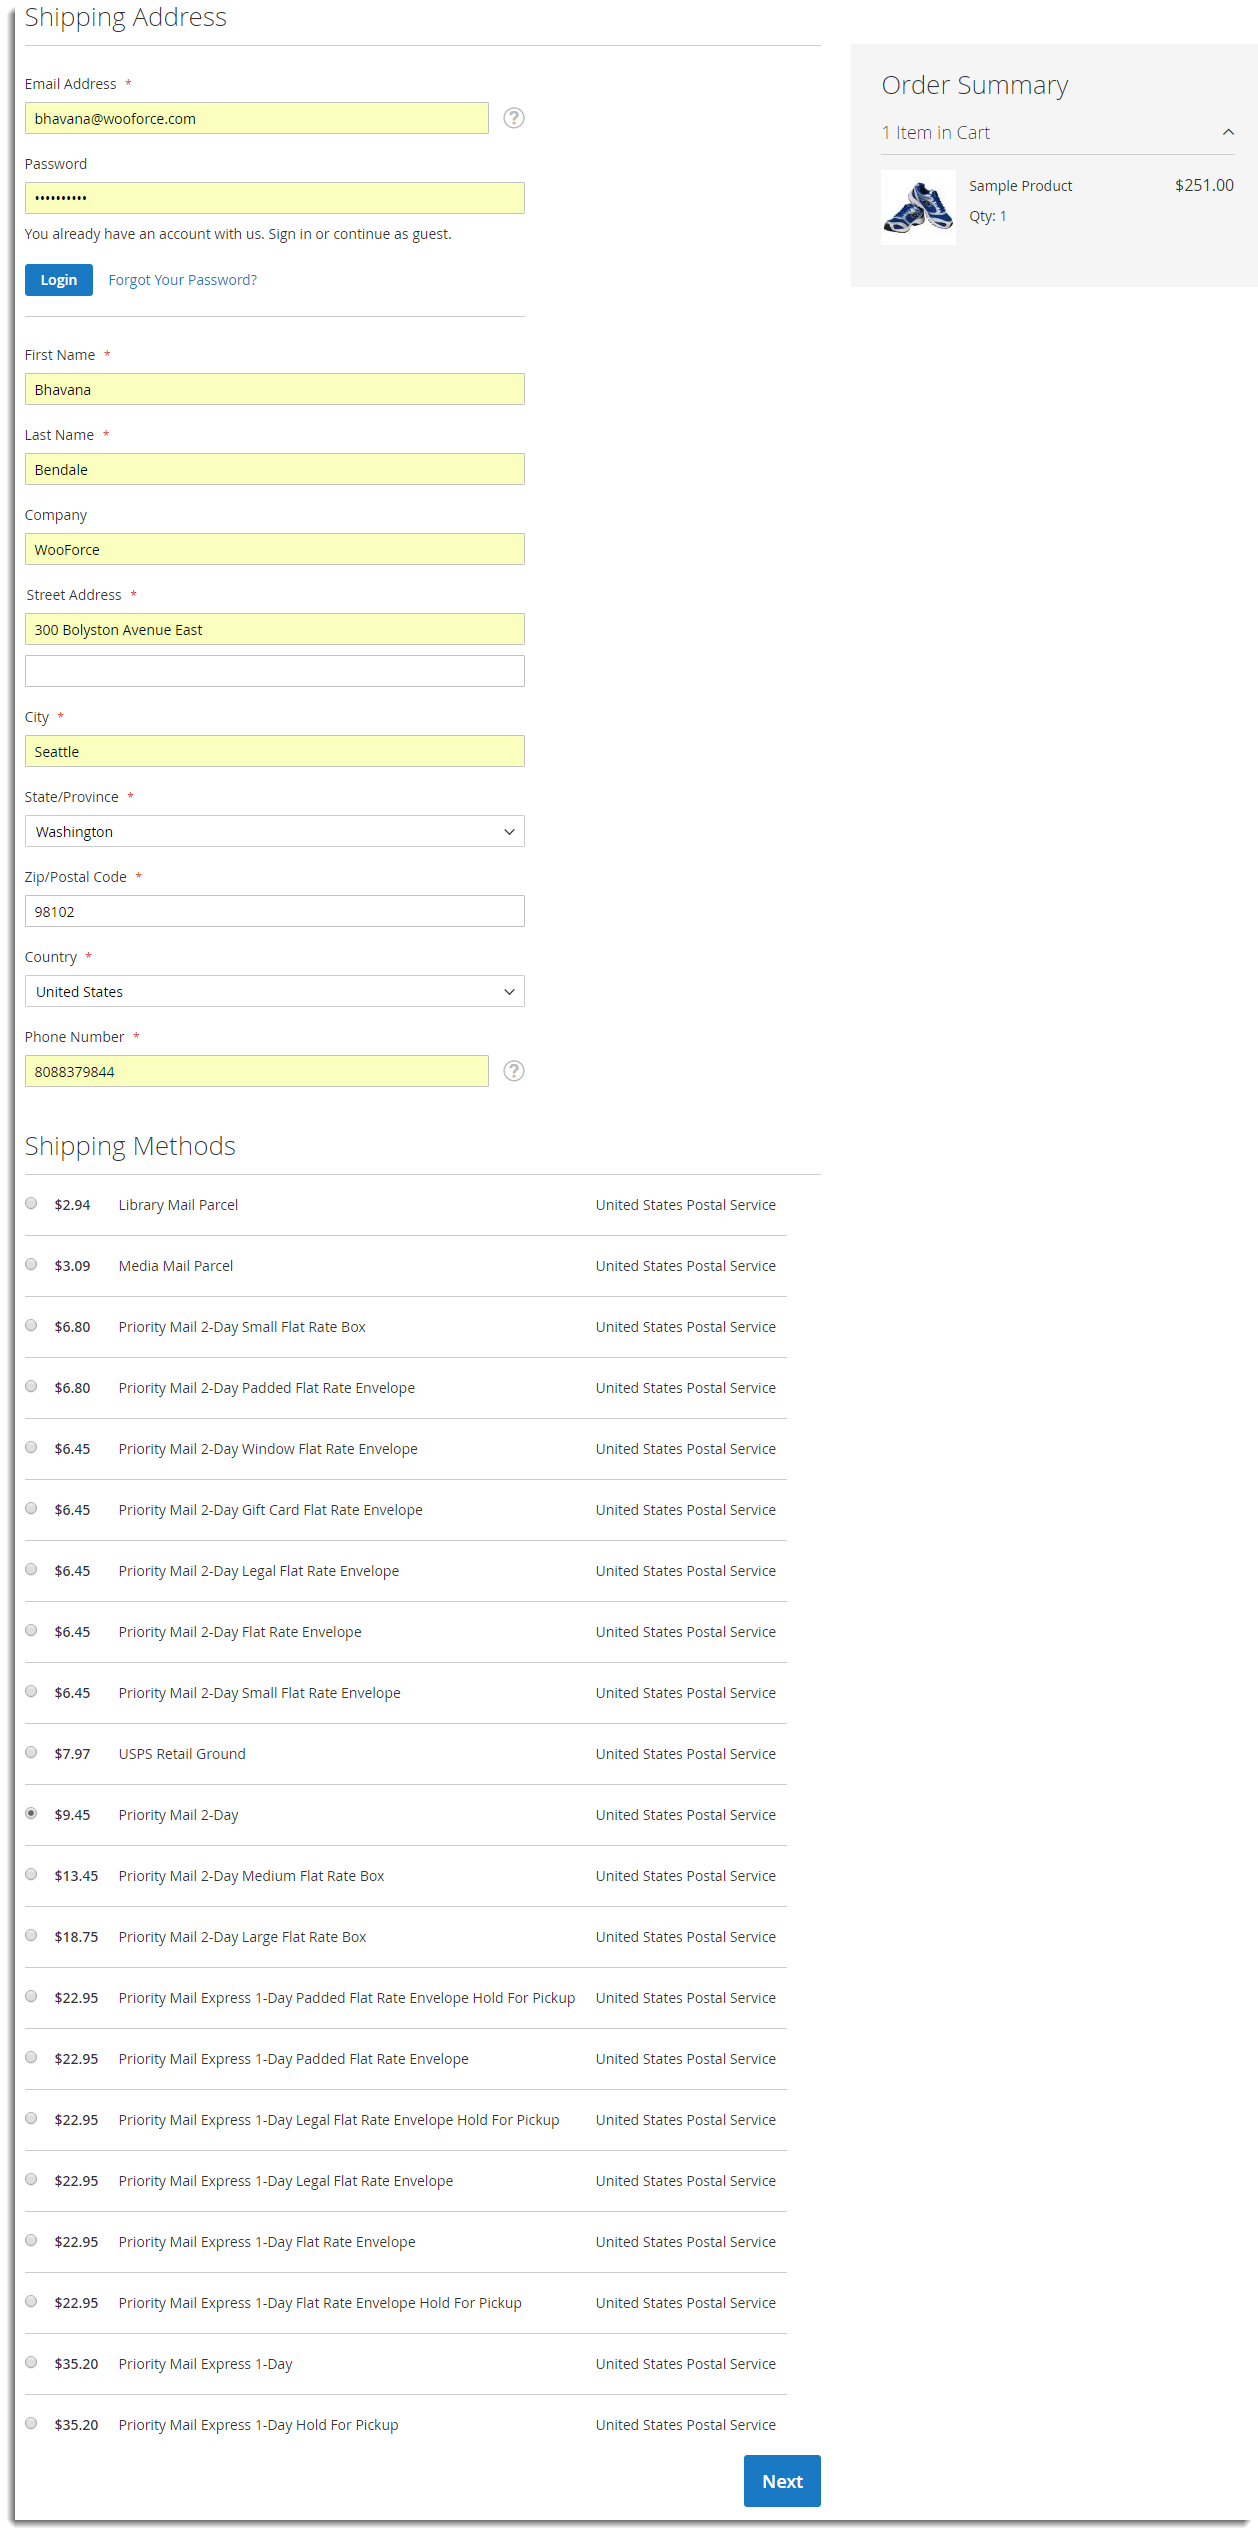
Click Next and Place the order.
Create Shipment Label
- To create the shipment and print the label, Navigate to Dashboard > Sales > Orders. The order page appears as shown below:
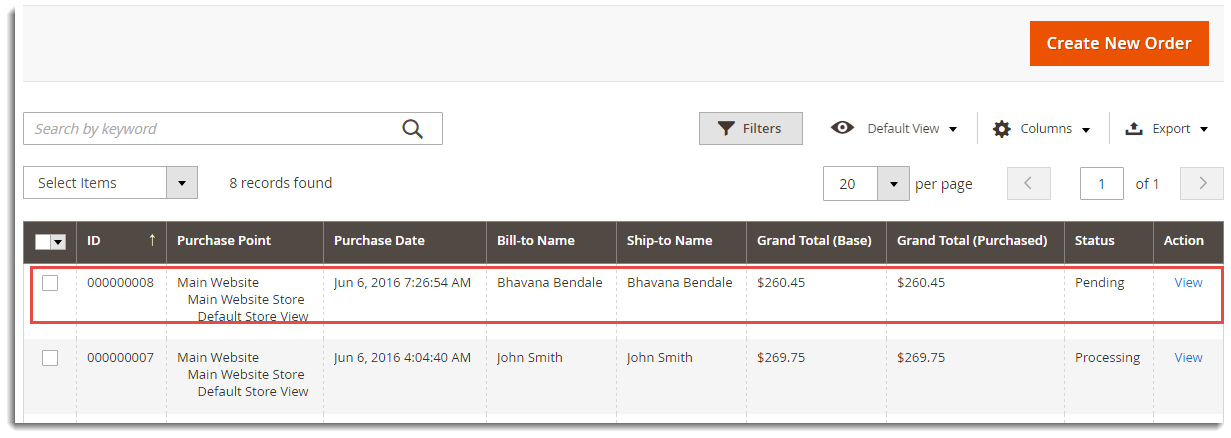
Order Page - Click View to see the order and click on Ship to ship the order as shown below:

Ship Option - To Create the shipment, select checkbox Create Shipping Label and click Submit Shipment as below:

Create Shipment - Select Create Shipment Label checkbox and click Submit Shipment. Click Add Products to Package. Add selected products to package. Click Save.
- The Created shipment with Message appears as shown below:
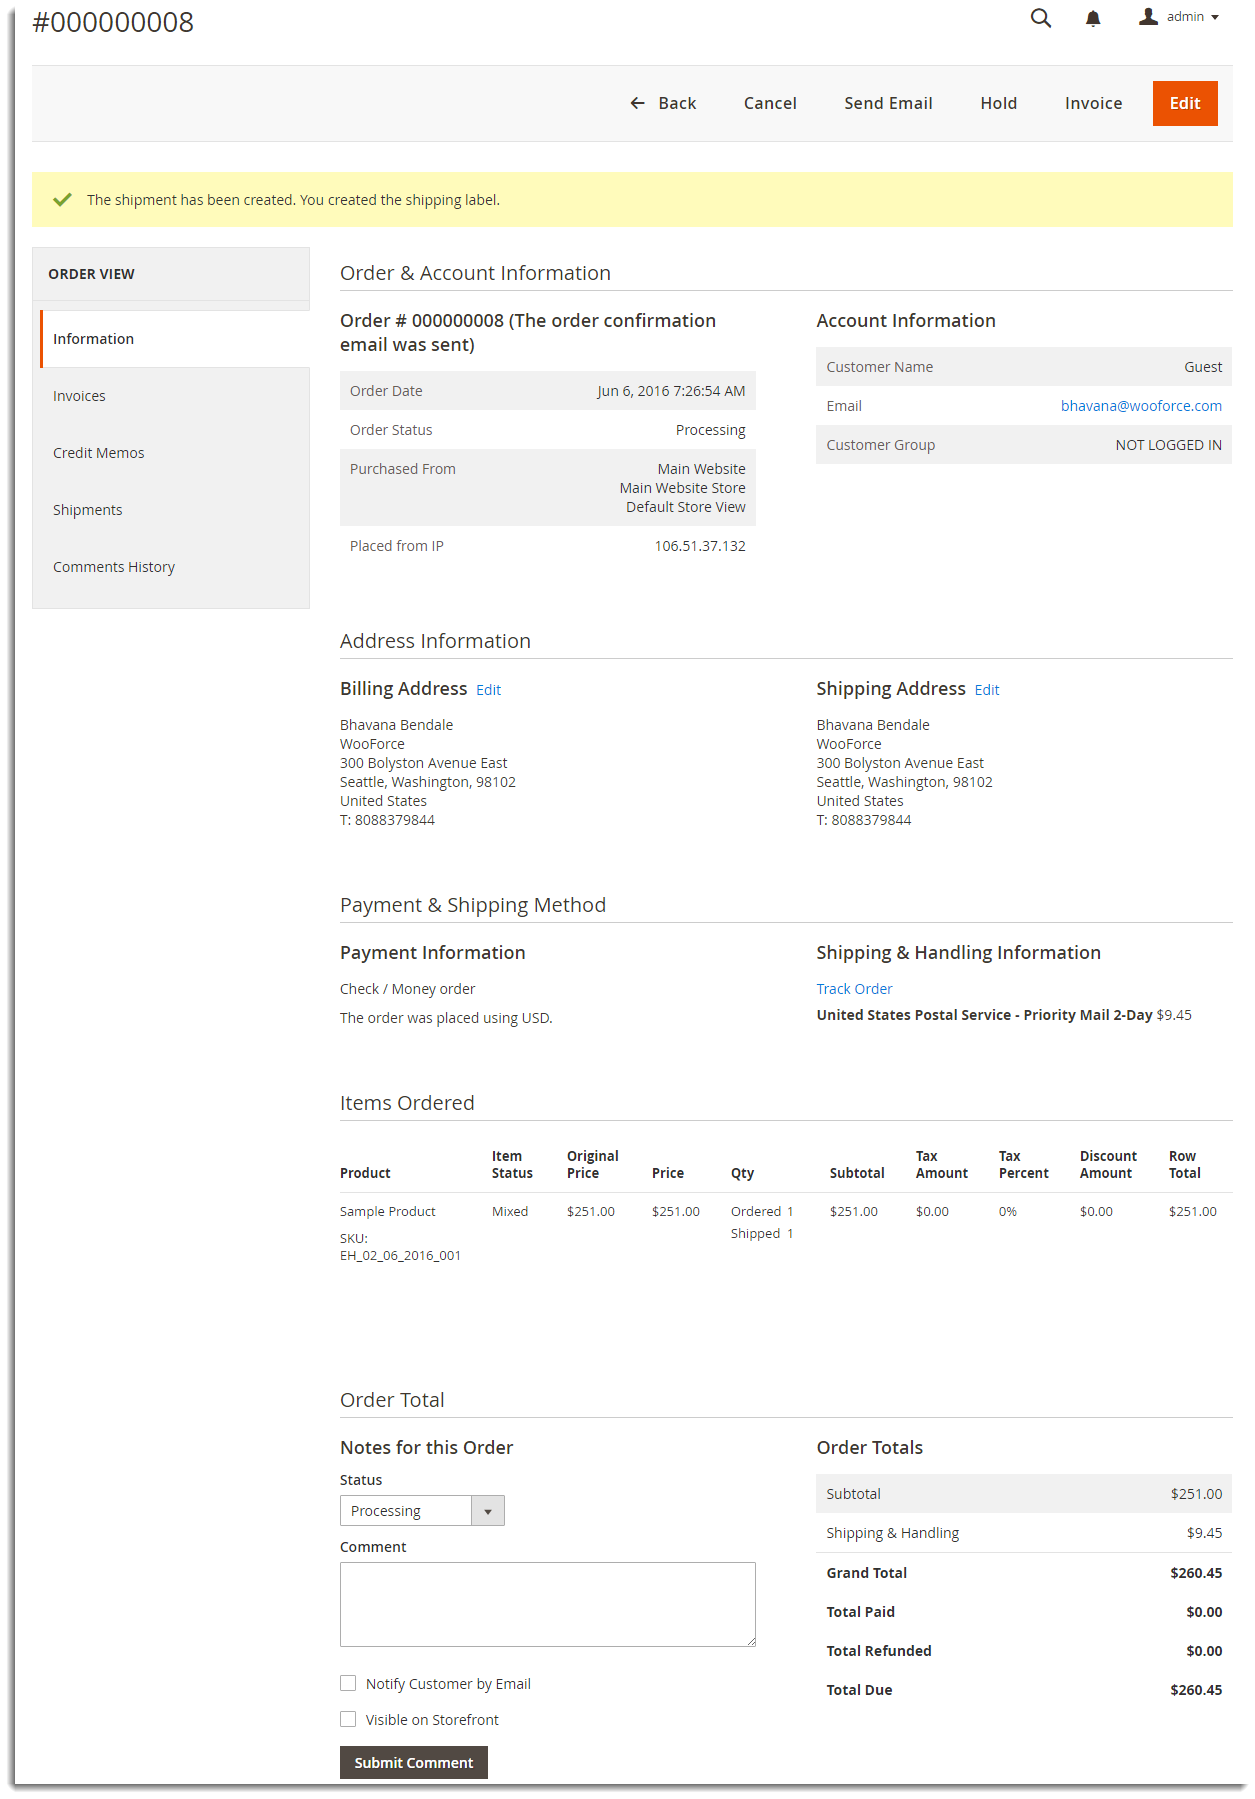
Created Shipment
Label Printing
To print label, Navigate to Order View > Shipments, the window appears as shown below:

Click View, the window appears as shown below:
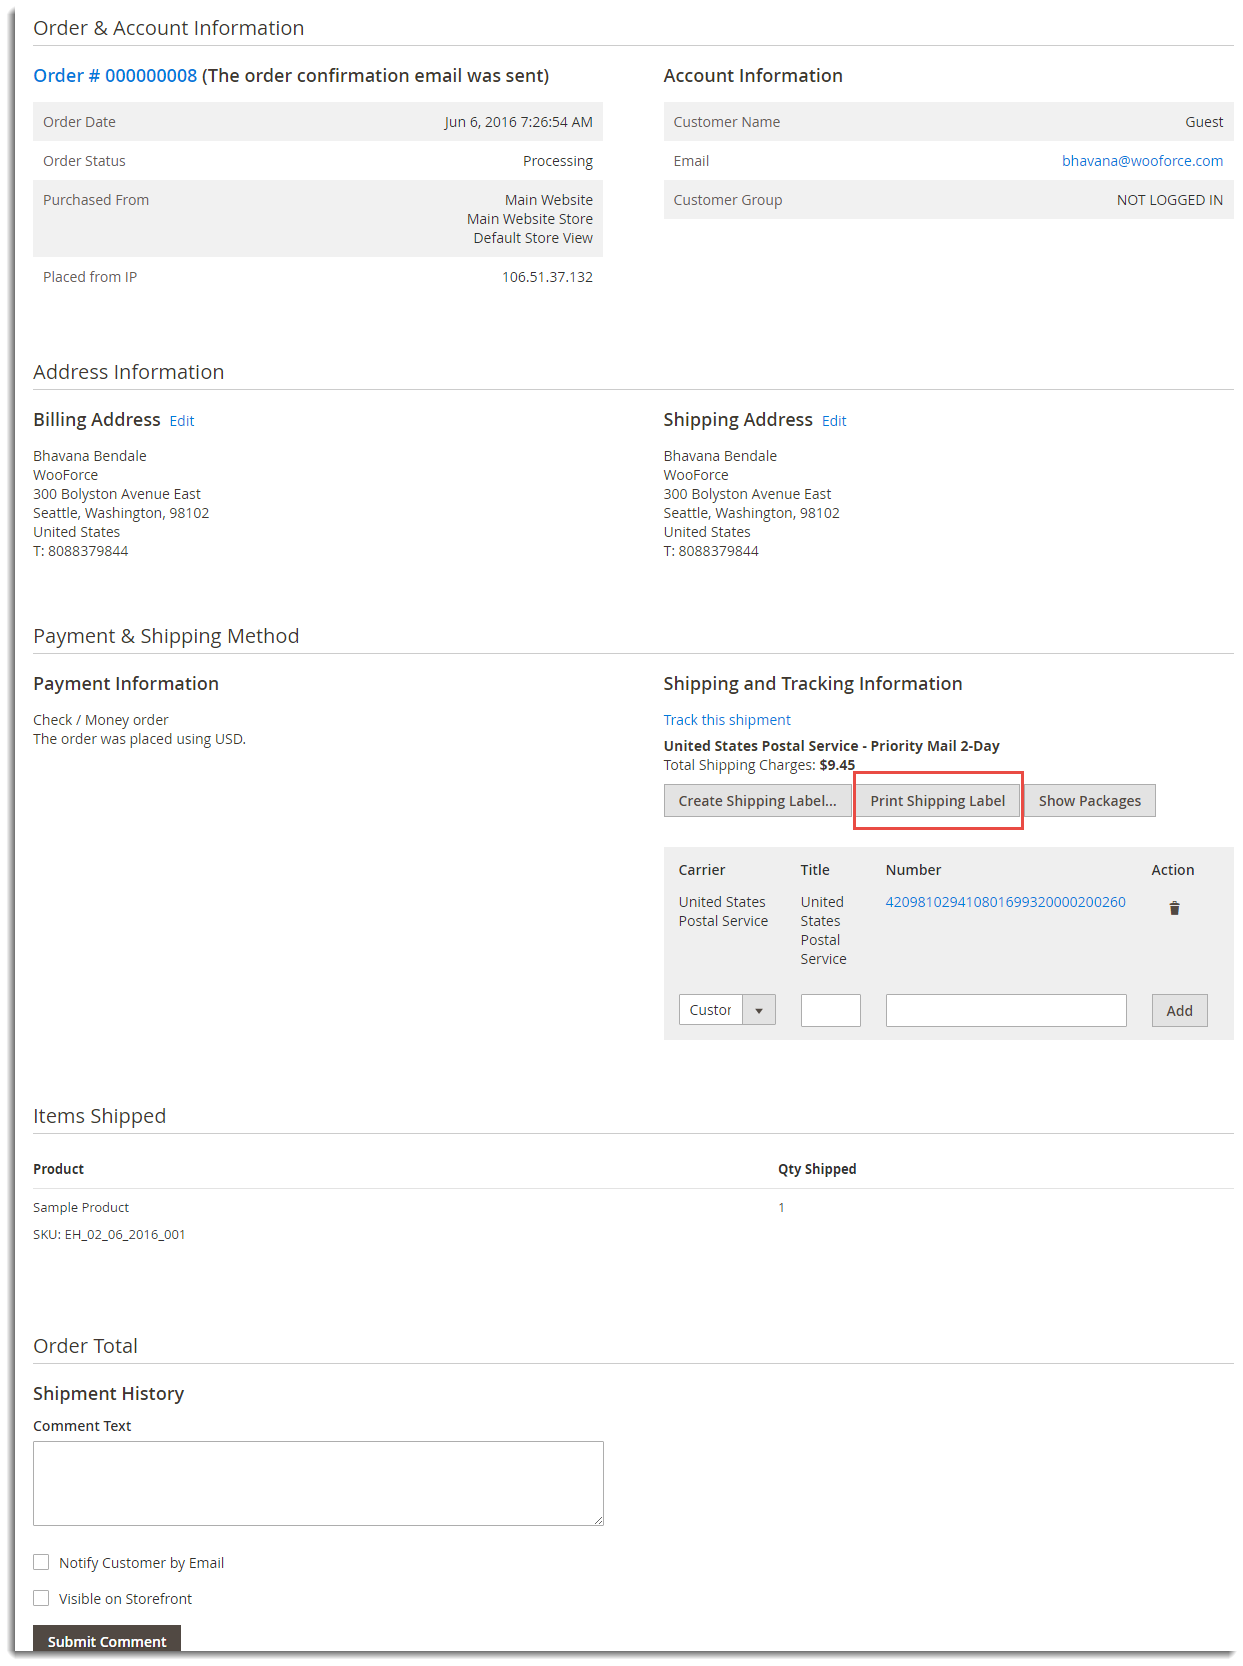
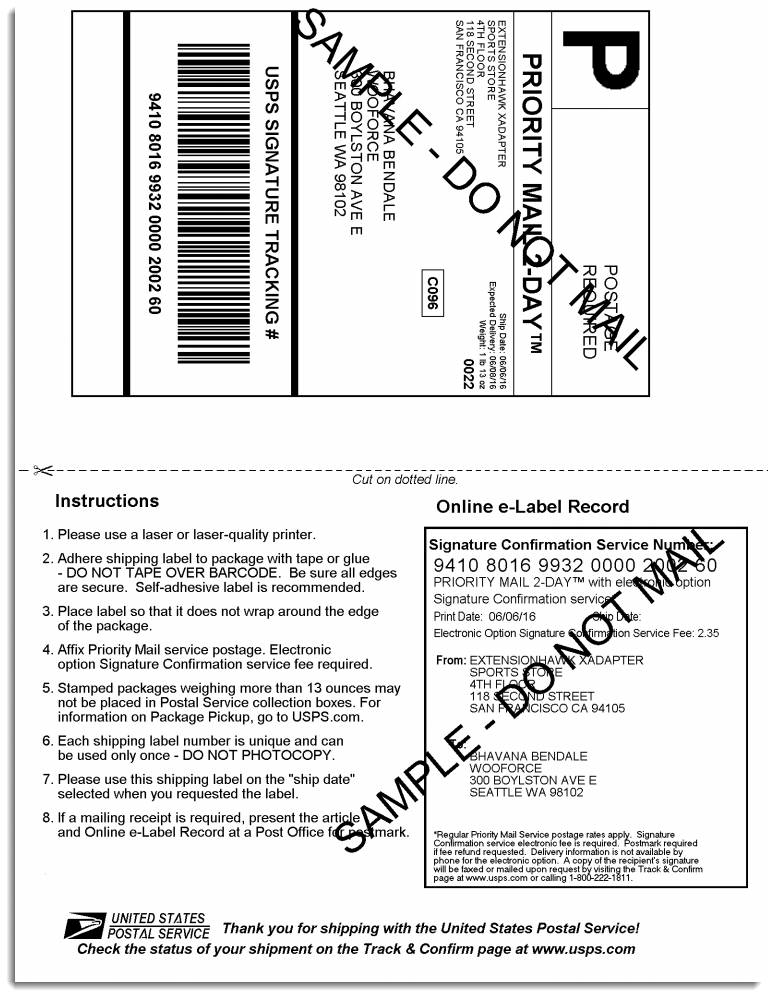
Click Print Shipping Label, the sample label appears as shown below: