An invoice including text from cusdo it either by using an extension or manually on WooCommerce itself. The major difference is that if you are using an extension your workload will be less.
The best extension to invoice is WooCommerce PDF Invoice & Packing List plugin by Xadapter.
Adding Text to Invoice Using Extension
Step 1
Installation of the Plugin
After purchasing the Print Invoice, Packing Slip, Delivery Note & Label Plugin for WooCommerce, the plugin will be available as a zip file in the API Downloads section of your MY ACCOUNT page.
- Download the zip file from API Downloads by logging into your XAdapter MY ACCOUNTS page.
- Log in as the WordPress Admin of your online store.
- Navigate downloaded plugin.
- Choose the plugin file to upload.
- Finally, activate the plugin.
Step 2
On your WordPress dashboard go to WooCommerce > Invoice/ Packing List.
Here is the screenshot of the opening page.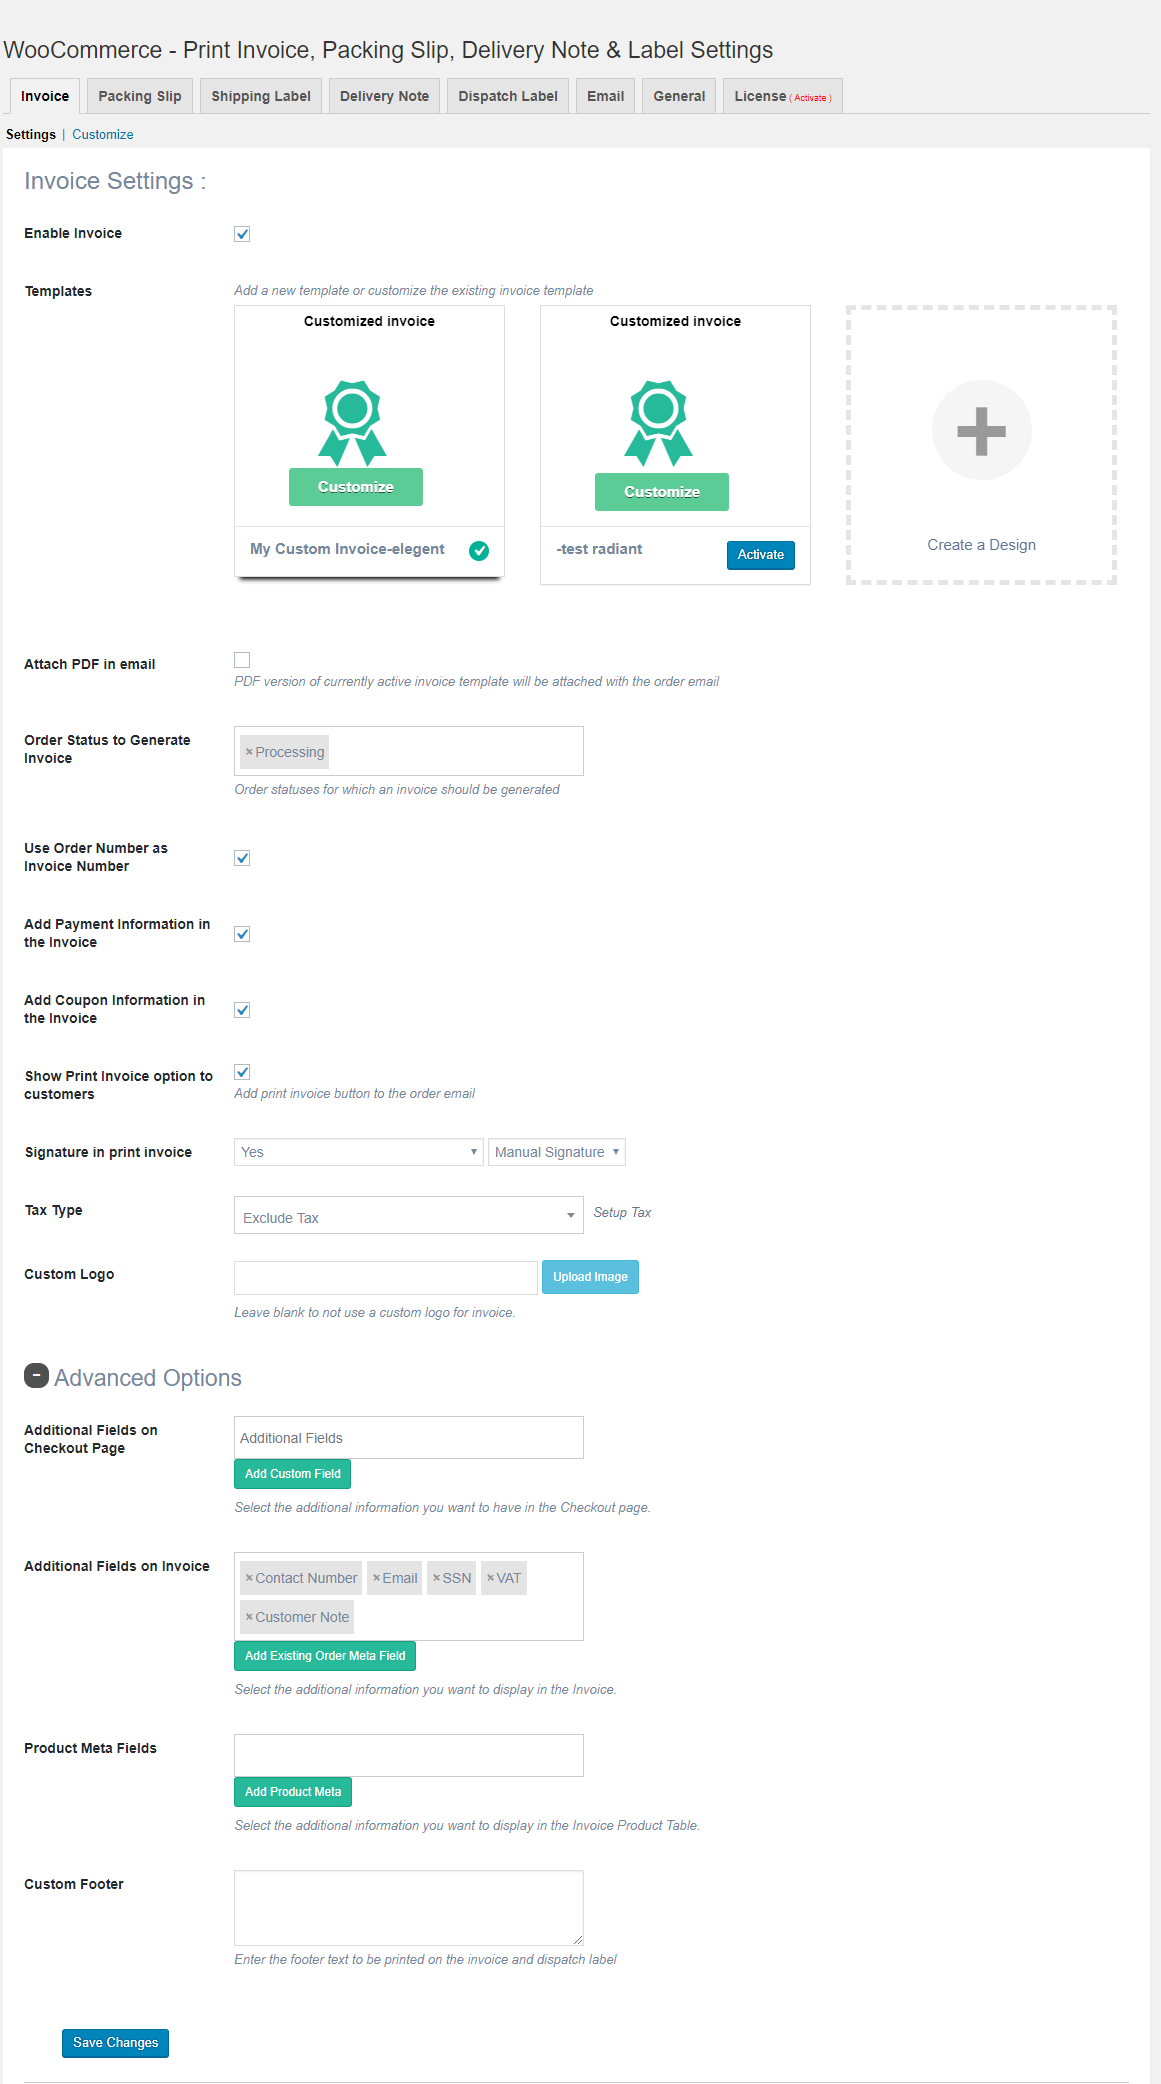
Step 3
- Enable invoice by selecting the checkbox.
- Choose a standard template and customize it if you wish.
- Attach PDF to the email by selecting the checkbox.
- Provide order status(es) on which invoices should be generated.
Step 4
Go to the Additional fields on Invoice option on the Advanced settings part of the page.
The screenshot of it is given here.

Step 5
Clicking on the empty field opens up a few additional fields options as shown in the screenshot. Choose customer note from those options.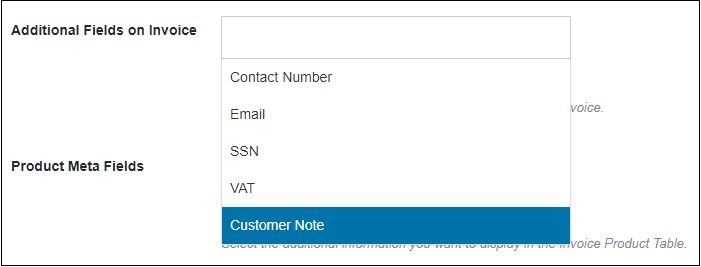
Step 6
Click save changes.
Now the invoice generated by your stomer note in it.
Adding Text to Invoice Manually
Here are the steps you need tore.
Step 1
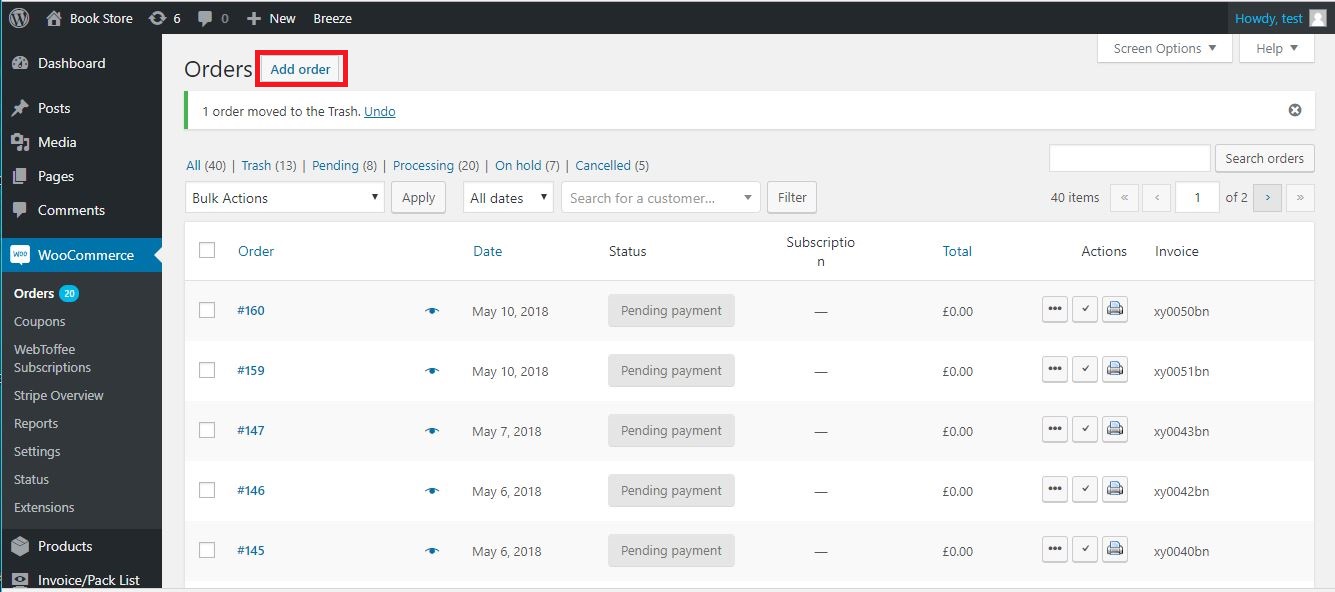
Go to WooCommerce > Orders from your dashboard. Here is the resulting page’s screenshot.
Step 2
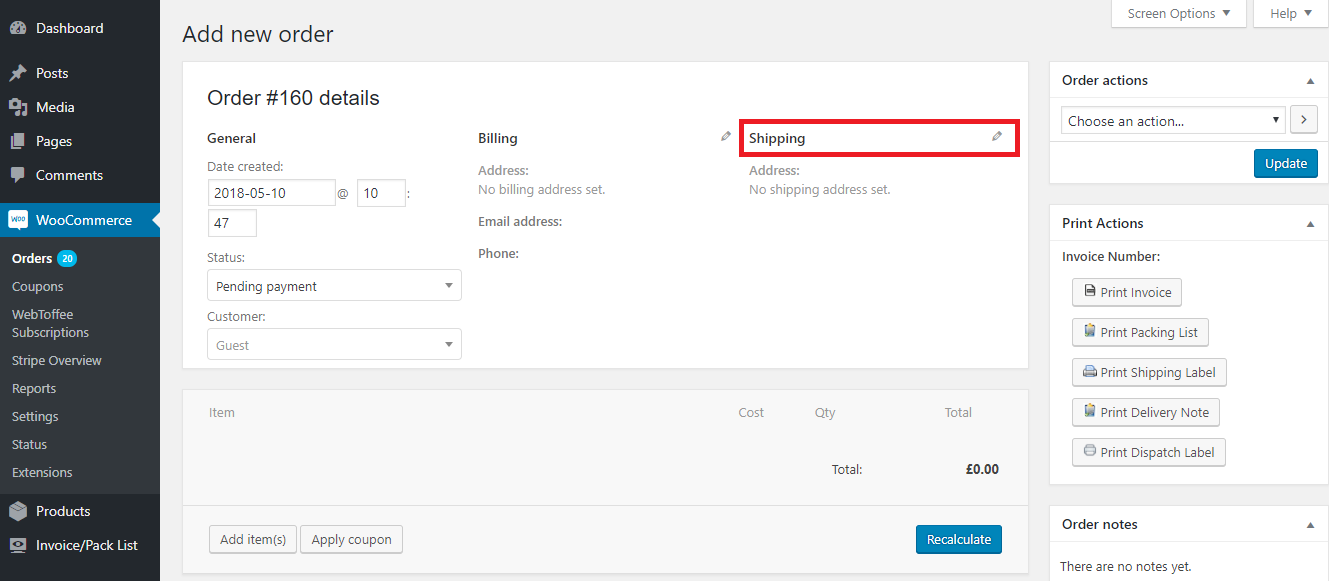
On the opening page, click on the miniature version of the pencil icon.
Step 3
Enter shipping address in the respective fields and enter “customer provided note”.
Step 4
Send invoice email tomer.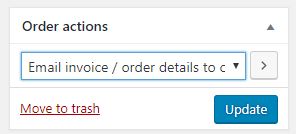
Here is a screenshot of an invoice email showing customer notes.